
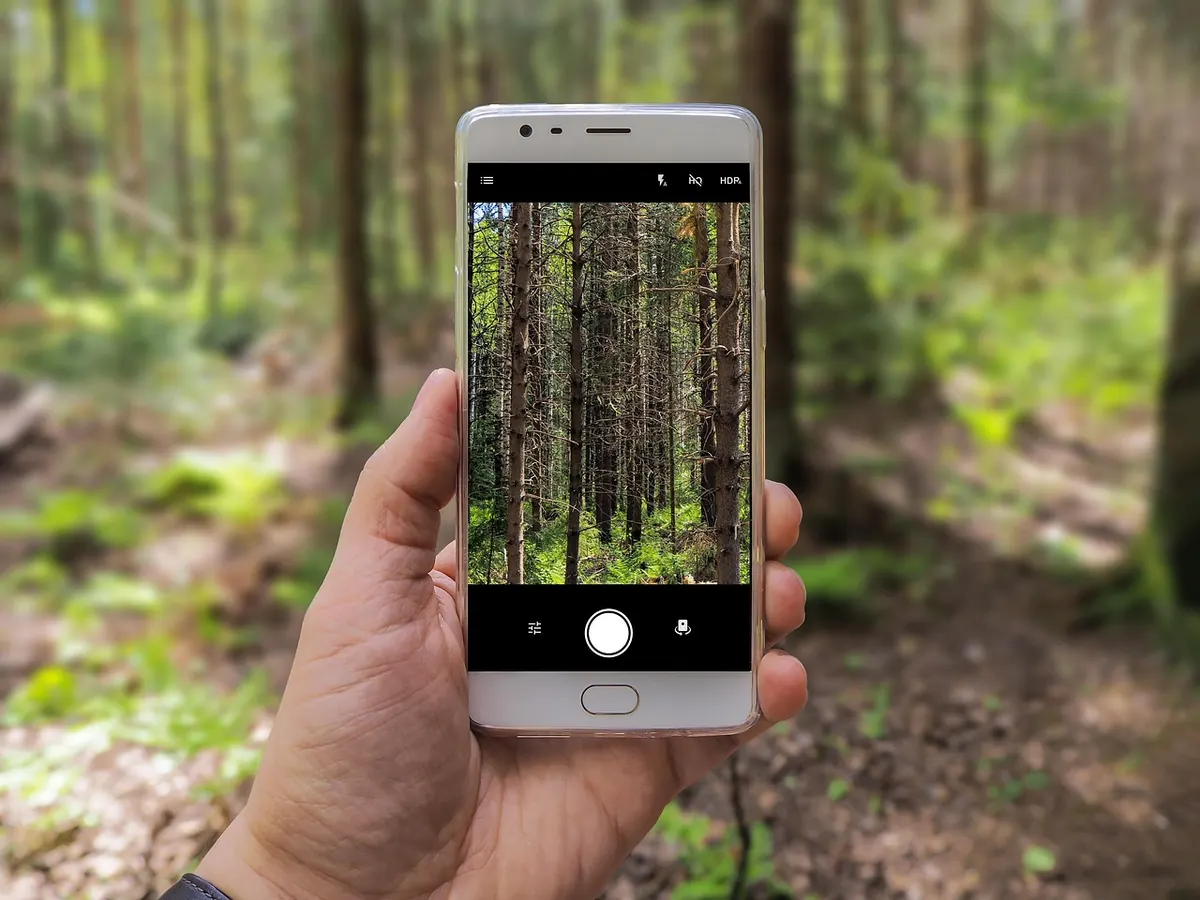
The first time a trail camera catches a bobcat mid-yawn, it is easy to forget everything that got you there: your scent on the branches you pushed past, your bootprints pressed into the trail edge, your flashlight sweeping the ferns. Good camera work is mostly about what the animal never notices. A few habits of thought and setup keep your records honest and the wildlife around them undisturbed.
Check the Rules Before the First Photo
Trail cameras sit in an awkward space between wildlife watching and surveillance, and the rules change fast from one jurisdiction to the next. On private land, written permission from the landowner is the starting point, not a courtesy. Many state wildlife management areas permit cameras but restrict where they can hang, often banning them along designated hiking trails, near parking lots, or in sensitive habitat. Federal lands vary by agency and even by district office, and national parks generally prohibit leaving unattended equipment.
Two details trip people up. First, some places prohibit attaching anything to trees, including straps, because of bark damage and because other visitors find it intrusive. Second, cameras that capture audio can fall under separate recording laws. If you are unsure whether a restriction applies to your spot, call the land management agency and ask. For anything with legal consequences, get advice from a qualified local professional rather than a forum thread.
Place the Camera Where Animals Already Feel Safe
Start with sign, not scenery. Scat, tracks, browsed twigs, antler rubs, dust baths and worn paths tell you where animals already travel. Set up beside that activity, not on top of it. A camera ten to fifteen feet off a game trail, angled so animals cross the frame instead of walking straight into the lens, produces better images and less disruption.
Height matters more than most people expect. Mount the camera at roughly chest height for deer and elk, tilt it slightly downward, and avoid aiming at eye level of your target species. The lower the camera sits below an animal's natural sightline, the less it reads as a face staring back.
Leave these places alone entirely:
- Den entrances, burrows, nest trees and maternity areas, where a single disturbance can end a season of raising young
- Bedding cover used by deer and elk, especially in winter when every calorie counts
- Carcasses and kill sites, which attract a crowd of scavengers that your presence scatters
- Water sources during dry spells, when animals have no alternative
- Choke points, narrow corridors where an animal cannot route around you
If a branch blocks the view, move the camera. Do not cut the branch. Stay on existing paths instead of trampling a new one, and think about timing: nesting, fawning and denning seasons are the worst weeks to introduce equipment into an area.
Cut Your Scent and Your Footprint
You cannot eliminate human scent, but you can reduce how much of it you leave behind. Rubber boots and clean gloves help. So does approaching from downwind, keeping gear in a bag away from food and fuel odors, and avoiding strongly scented soaps or laundry products before a trip. Handle the camera with gloved hands where you can.
Go quietly, and go at the wrong time of day on purpose. Dawn and dusk are when most mammals move, so a midday visit disturbs fewer animals. Keep talking to a minimum, close doors and latches gently, and finish the job in one trip rather than three.
Choose Settings That Whisper
Modern cameras have more noise than people realize. Turn off beeps, disable indicator LEDs and shutter sounds, and check whether your model flashes a light during setup that stays on in the field. For flash type, no-glow infrared is the least intrusive option and the safest choice around predators and nocturnal species. Red-glow models are a middle ground. White flash produces the sharpest color images but is the most likely to startle an animal.
Other settings worth adjusting before you walk away:
- Trigger sensitivity set low to medium, so swaying grass does not fill the card
- Bursts of two or three photos rather than long video clips, which drain batteries and store more of an animal's visit than you need
- Battery type matched to the cold, since standard alkalines fade fast in freezing weather
- A cable lock and a note of your own camera's serial number, because theft is common on popular public land
Review Images, Not Locations
Every check is a disturbance, so stretch the interval. Weekly is often enough; every two weeks is better on quiet ground. When you do visit, keep it short, stay on the same approach path and resist the urge to linger and look around.
What you do with the images matters too. Posting a clear photo of a rare animal along with a recognizable ridge line or trailhead can send a crowd, or a poacher, to exactly the wrong place. Strip location data from files before sharing, avoid naming specific drainages or access points, and ask permission before publishing images from dens, nests or other sensitive sites. If you find someone else's camera, leave it alone and walk on.
When Something Looks Wrong
Watch for signs that your setup is bothering the animals. Repeated staring at the lens, a camera knocked askew, or a trail that goes quiet for weeks after you hang equipment all suggest the spot needs a rest. Move the camera and give the area a month before returning.
If you photograph an injured or sick animal, do not attempt to help it. Report it to the state or provincial wildlife agency. If your card captures evidence of poaching, dumping or trespassing, leave the site as it is, save the files, and contact the agency or local law enforcement instead of confronting anyone yourself.
A Setup Routine You Can Repeat
- Confirm permission and the specific rules for that parcel, including whether tree attachment is allowed.
- Approach from downwind at midday, in rubber boots and gloves.
- Find existing sign, then set the camera beside the trail rather than on it.
- Mount it three to five feet up with a slight downward tilt, and aim it so animals cross the frame.
- Configure it with the camera off, then run a walk test to check the field of view.
- Lock it, log the location privately, and leave without a second pass through the area.
- Wait at least a week before the first check, then keep every visit brief.
The best sign that you got it right is a card full of animals behaving as though nothing is there: a fox trotting the same line it always uses, a doe browsing without a glance at the lens. Faint footprints, undisturbed ground, honest photographs. That is the whole craft.
Photo: EsaRiutta / Pixabay
Related posts
More stories you’ll love reading